


Canary Flex Battery Replacement

INTRODUCTION
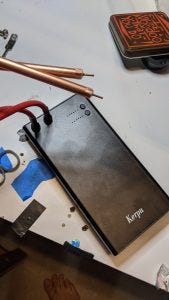
The Canary Flex is one of my favorite pieces of tech. It is beautifully made and very simple to use. I typically take this with me on travel and set it up in my hotel room if I am worried about anything getting stolen when I am gone. While there are other cameras out there now that have newer functionality and are cheaper, like the Wyze lineup, I still really like my Canary. However, the Flex is old, and the battery finally stopped charging. So I decided to see if I could fix it. After searching the web for a tear-down, I realized that there wasn't one, even iFixit doesn't have any instruction. So here I go...
PARTS LIST
Small Phillips Screwdrivers
TWO 18650 Batteries 3.7V 3400mAh
LCLEBM 2PCS 3400mAh Flat Top 3.7V 20A Battery with 1 Bay USB Charger and Storage Holder Case for Fan Spotlight Flashlight
Battery Spot Welder
Zhuvatar Portable Spot Welder Machine with Brassy Mini Spot Welder Pen for DIY 18650 Battery Energy Storage
3mm Battery Nickel Strips
10meter Li-ion Battery Nickel Sheet Plate Nickel Plated Strip Connector 0.1mm Steel Belt Spot Weld Machine Battery Welder 18650 (0.13MM)
A QUICK WORD ON BATTERY SPOT WELDING
I don't go into a lot of detail on the spot welding process. Mainly because it is hard to take pictures while welding. However, battery spot welding is VERY easy, and you should not be intimidated by it. The welder that I list in the Parts List is the perfect way to easily get into battery spot welding. I would suggest, however, that you practice a little and watch some YouTube videos on it. It's very easy, but you do need to know what you are doing to an extent. Enjoy!
STEP 1: GETTING STARTED
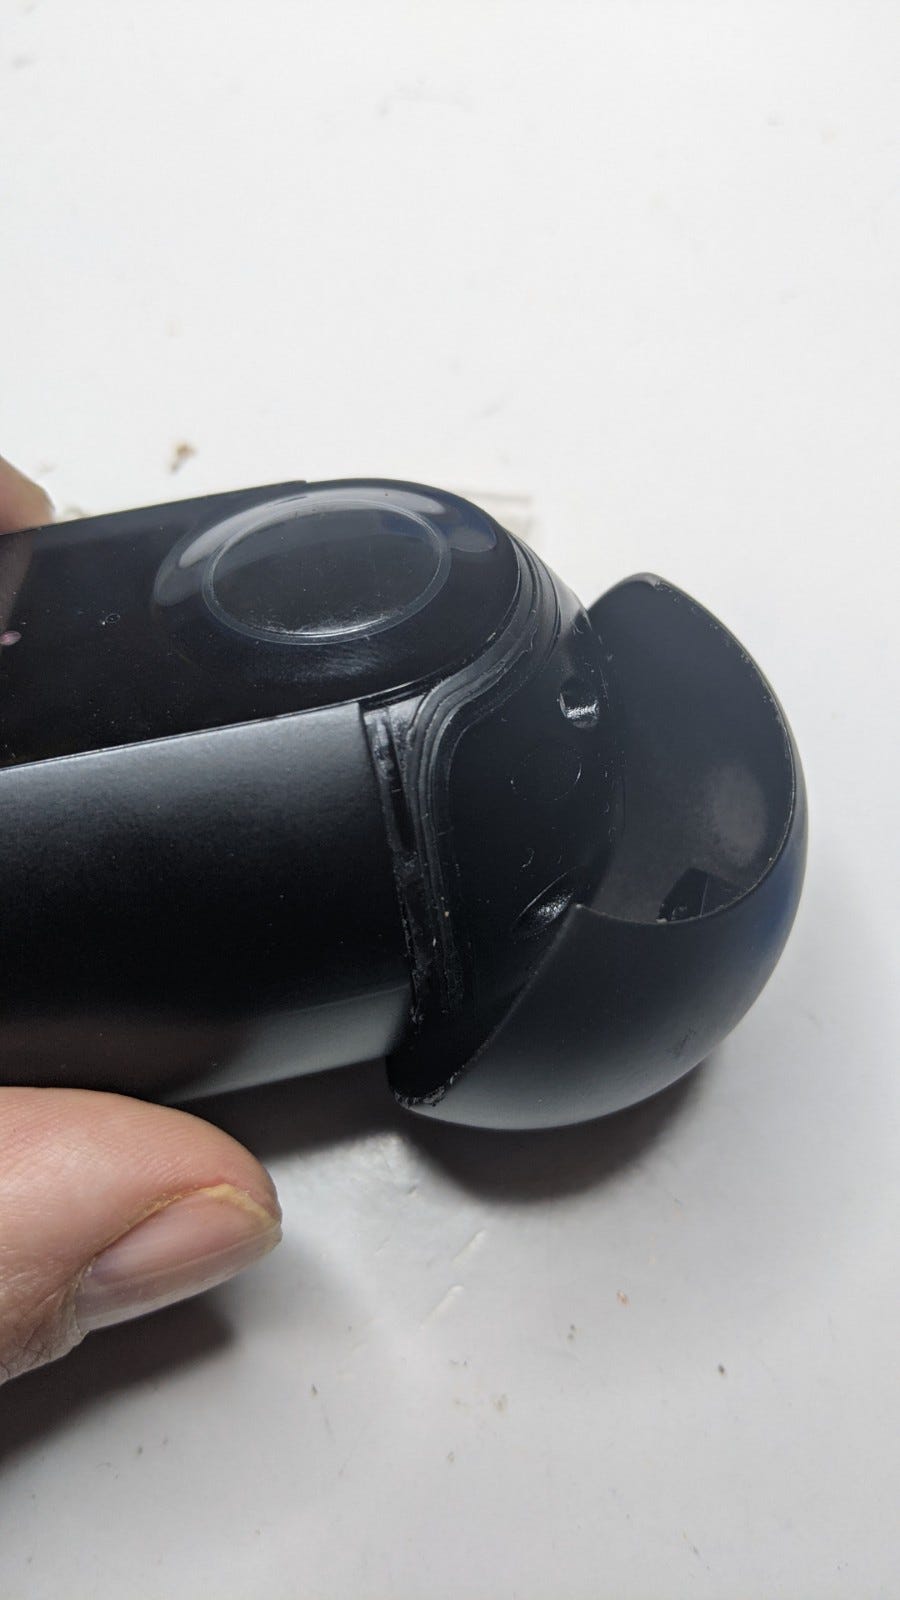
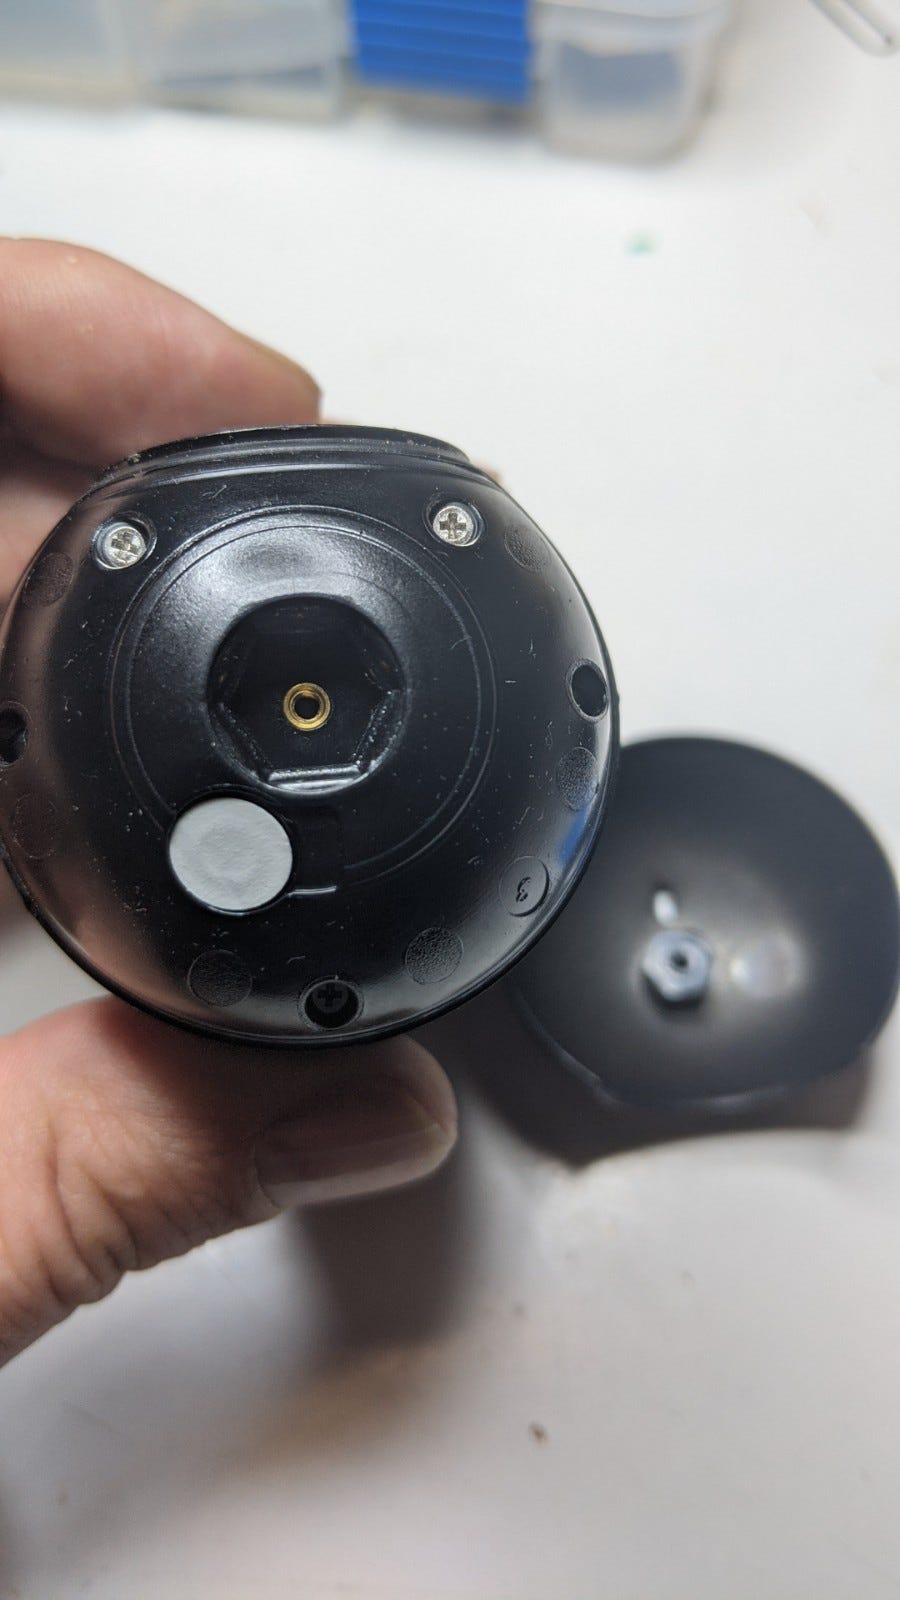
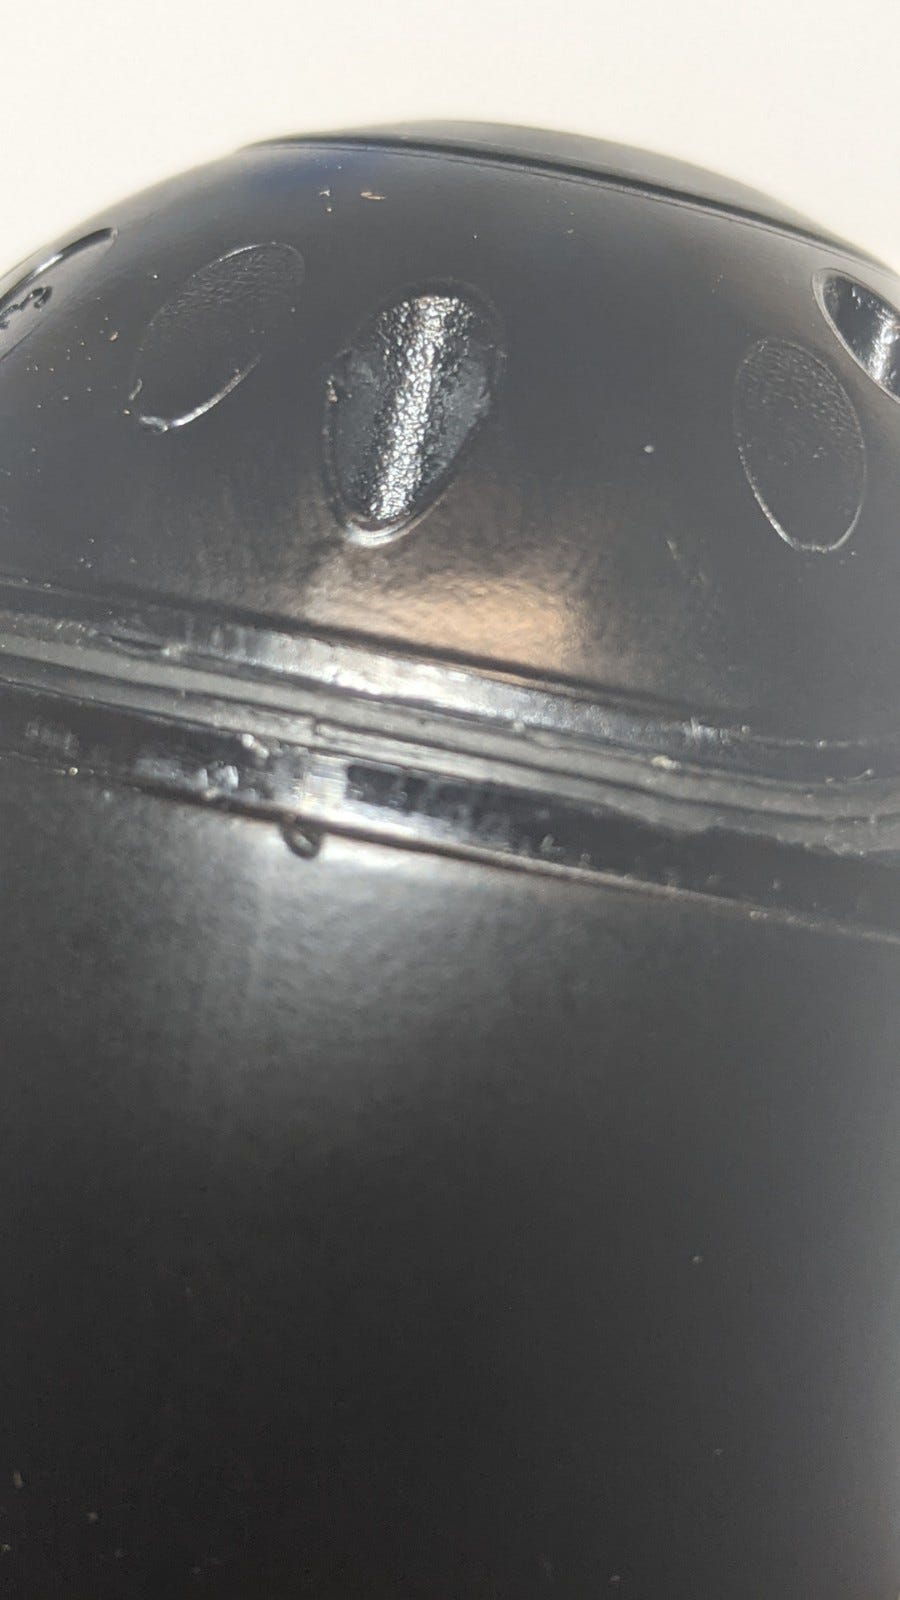
A small Philips head screw in the middle of the camera mount is all that is holding in the outer bottom cover. After removing the screw, pry the bottom part off with a sharp flat object.
Images:
PXL_20210723_225741948
PXL_20210723_225800929

STEP 2: Remove inner bottom cover.
As you can see from the previous step, there are 5 small screws that need to be removed from the inner bottom cover. Take those out and place them in a safe place.
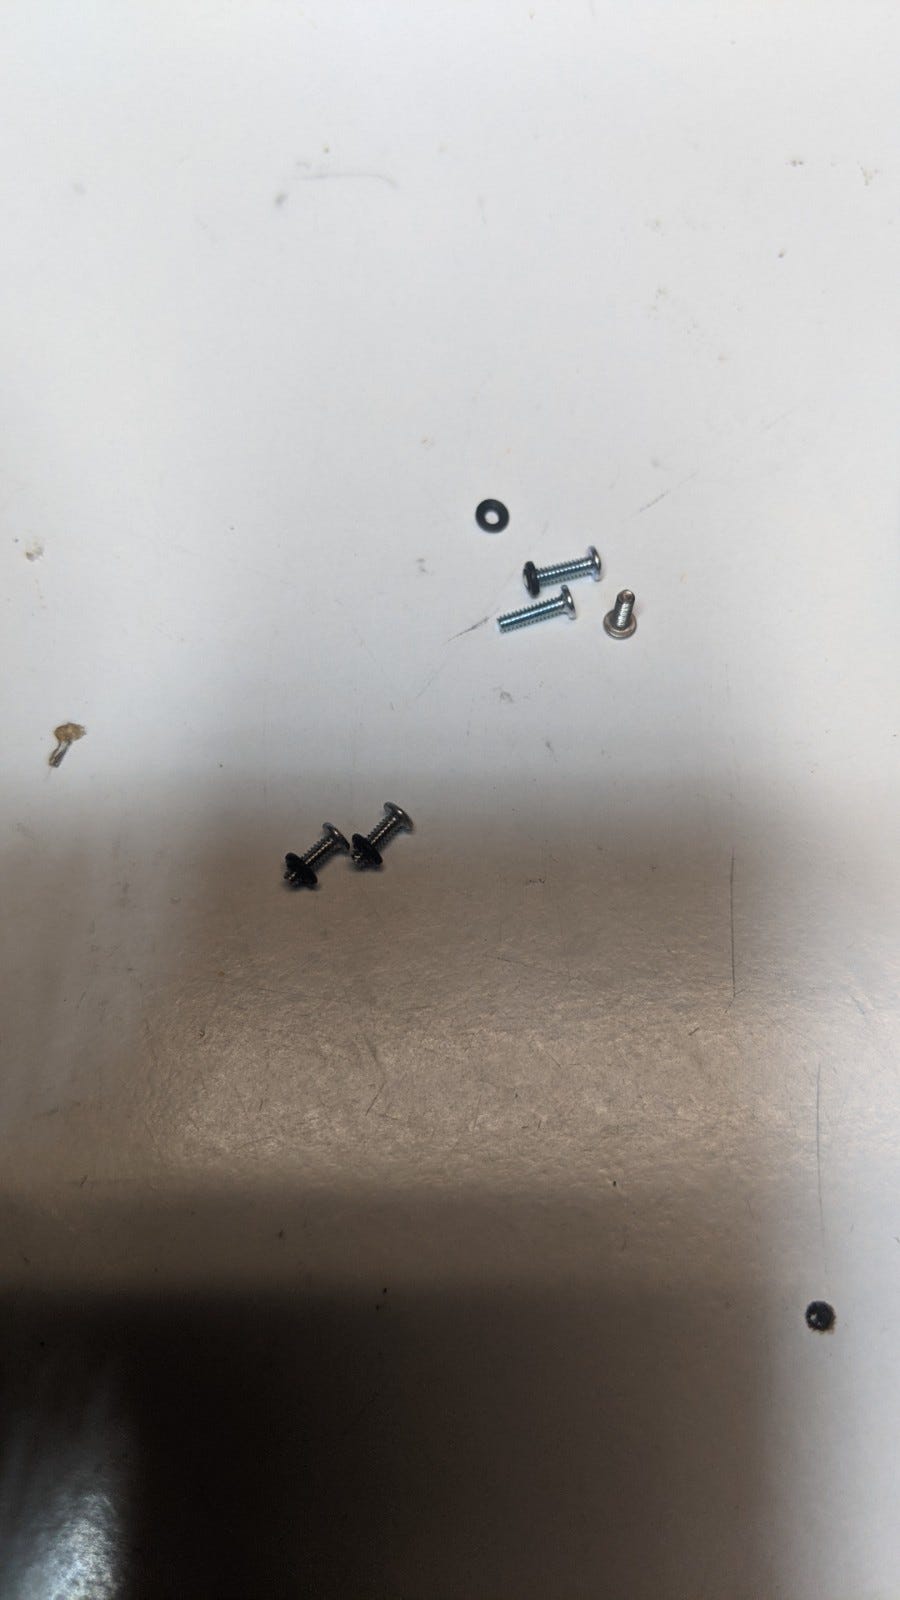
Image: PXL_20210723_230224163
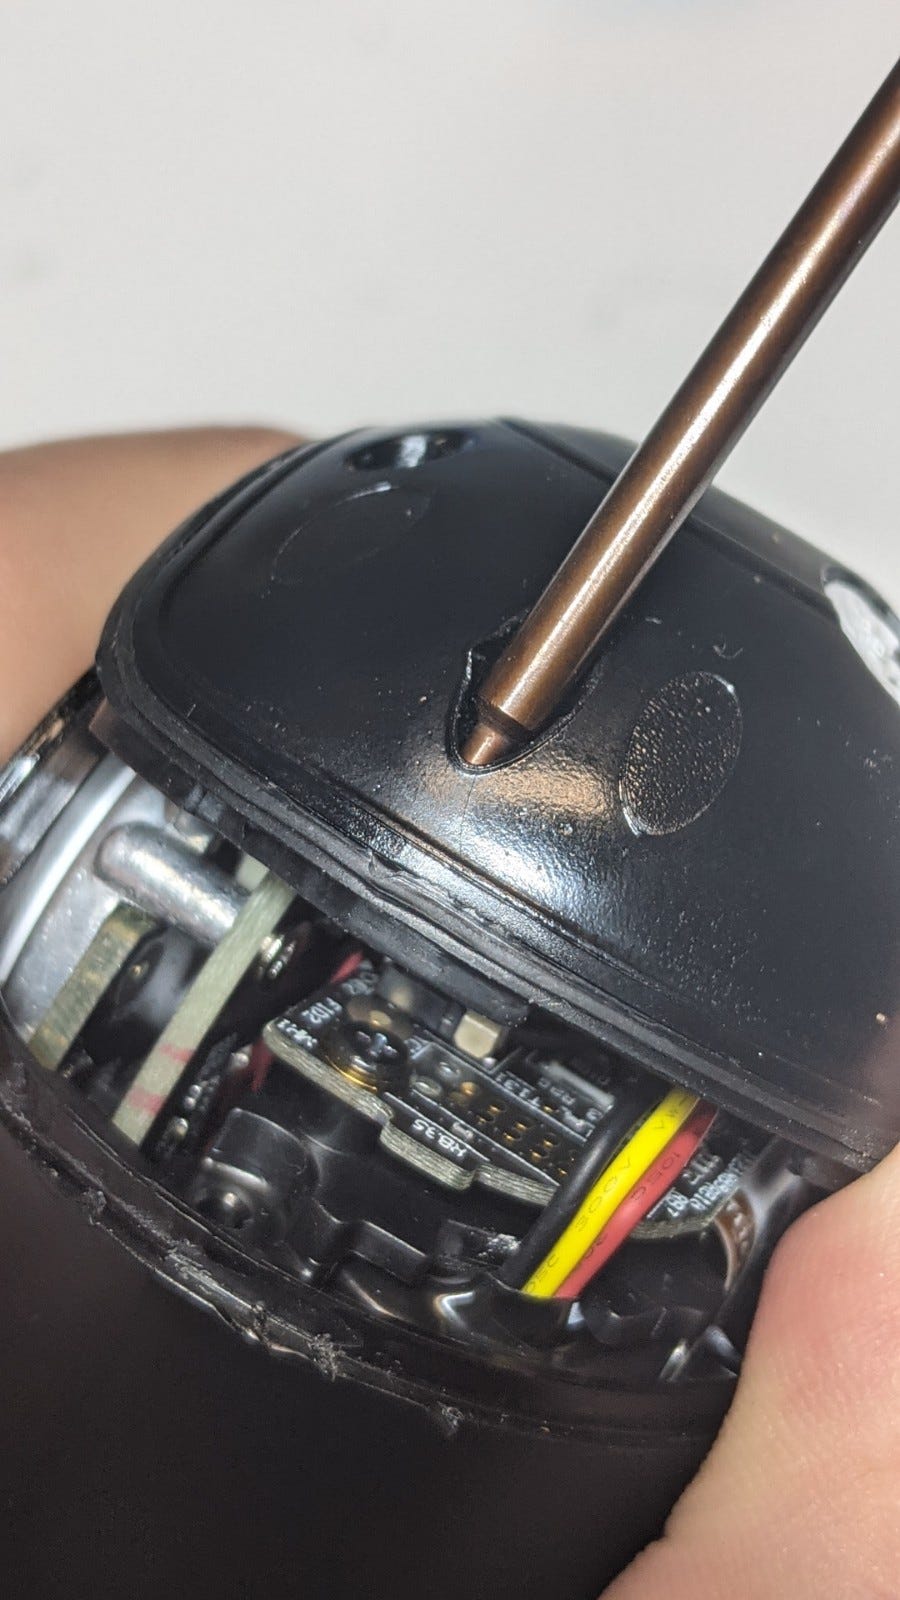
When you have all the screws out, it is time to remove the inner bottom cover. This cover has some weather stripping, so it will probably be stuck. I inserted a screwdriver into one of the empty holes and then used it as a lever to "crack" it open. It is probably just going to be sticky, and doing this should not harm the weather stripping, but it would be worth an inspection to make sure nothing is damaged.
Images:
PXL_20210723_230259000

PXL_20210723_230334430
PART 3: Main Circuit Board Disconnections
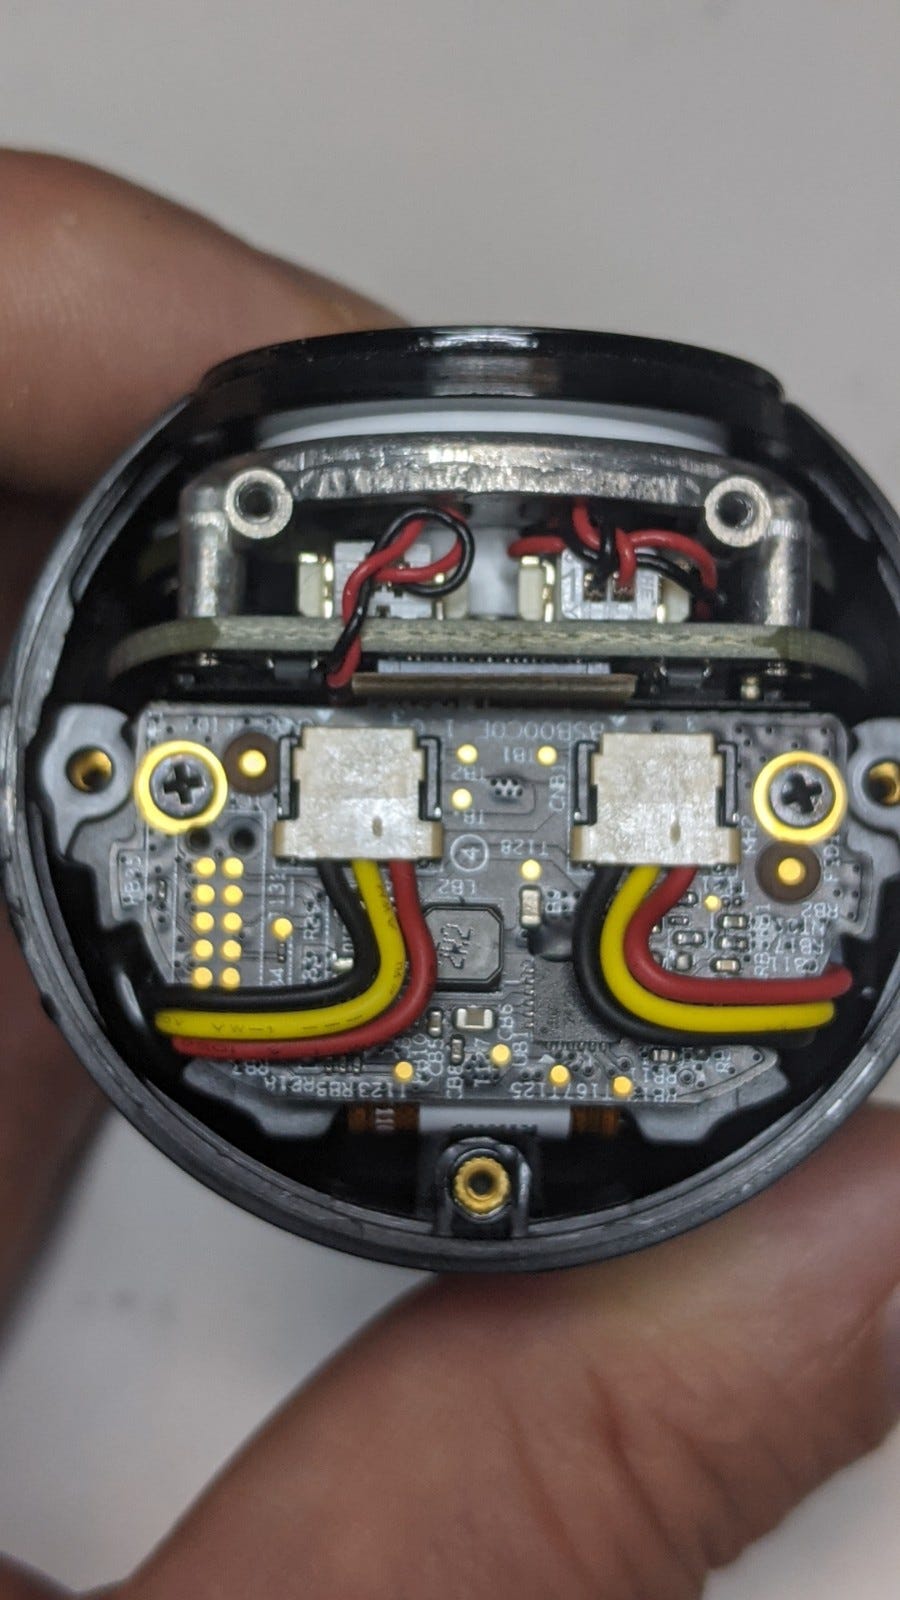
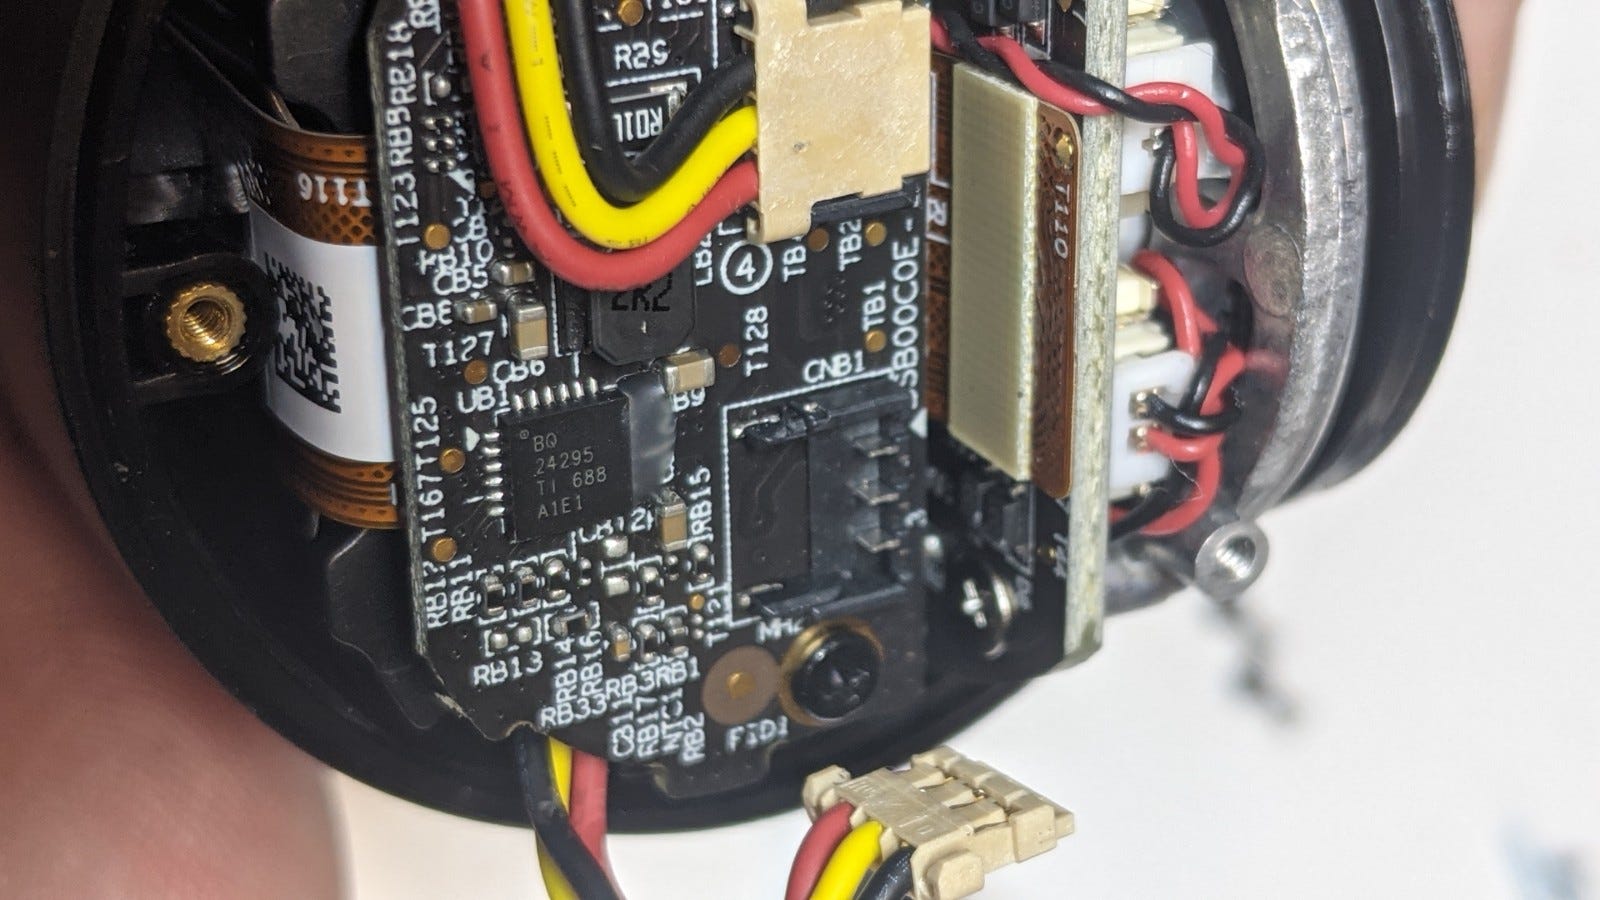
Canary made this part easy. All of the wiring is connector-based, so once you get to this part, it should be very obvious what you need to do. The two cables that you see are direct to the battery. Very carefully remove these!! I damaged mine by not pulling the connector straight up. See the image with the red circles.
Images:
PXL_20210723_230354199

PXL_20210723_230424594

PXL_20210723_230450930

PART 4: Control Board Removal
The board that contains the battery connectors can be pulled directly up and separated from the main ribbon cable. It can then be removed and placed in safekeeping.
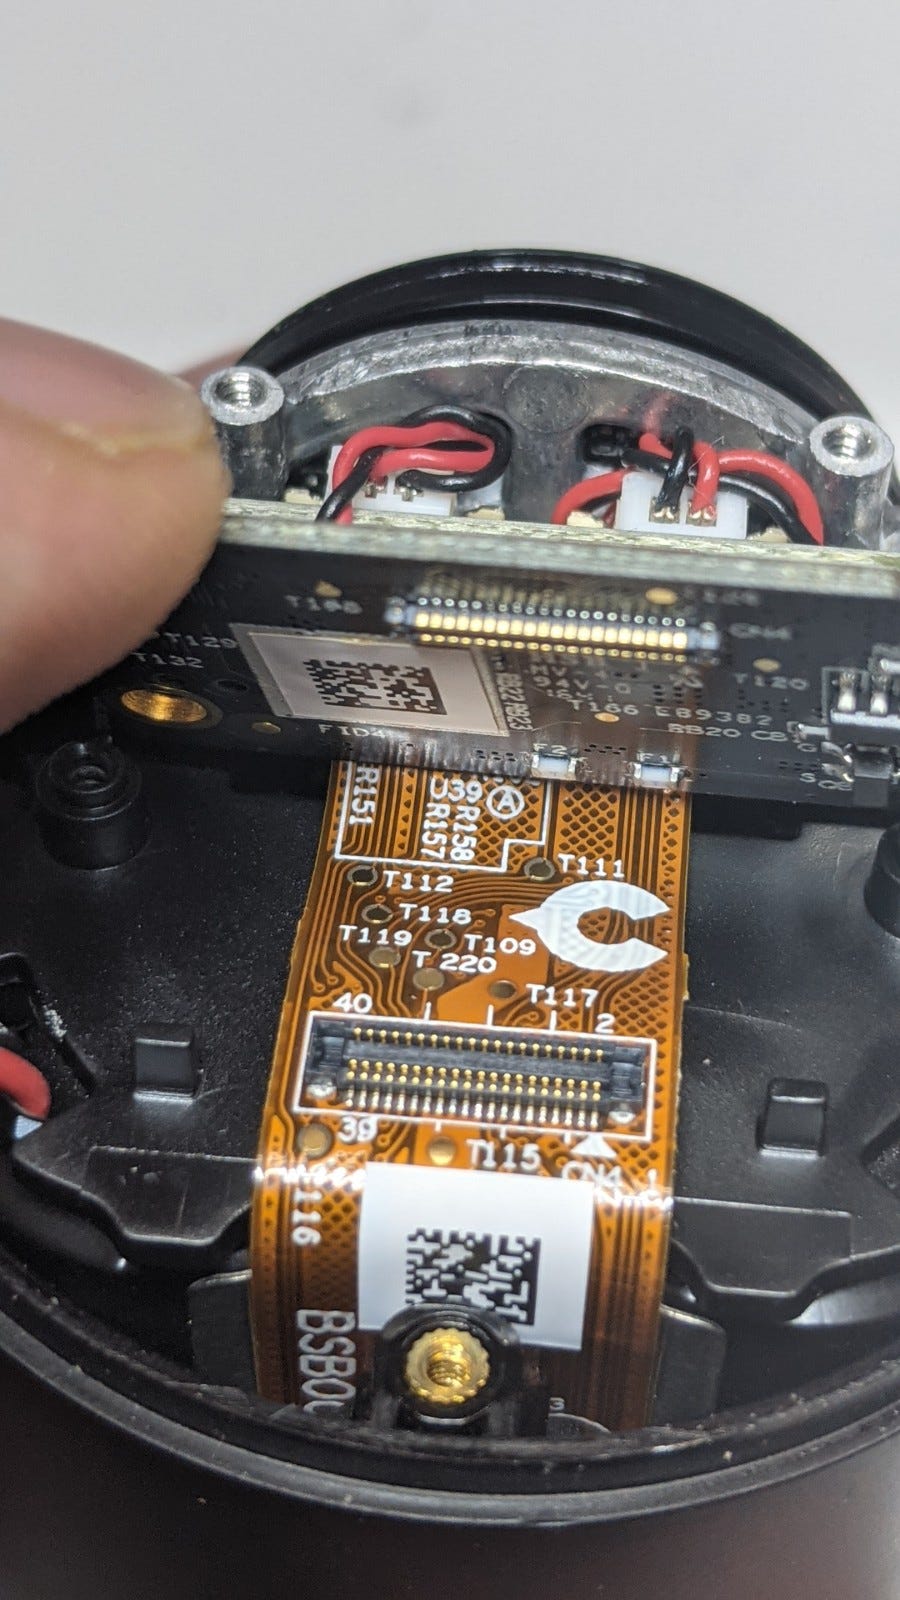
Image: PXL_20210723_230547938
PART 5: Ribbon Cable Disconnection
The main ribbon cable can be separated from the main internal board very easily.

Image: PXL_20210723_230606066
PART 6: Battery Pack Removal
Pull the main ribbon cable down and out of the way, then the battery pack can be pulled upward and completely removed.

Image: PXL_20210723_230701330
PART 7: Remove the Batteries
Each battery is going to have a small circuit board on the top. We will need to separate those very carefully and set them aside. They will need to be attached to the new batteries. There is a small metal bar that holds the batteries to the housing. Unclip them, and the batteries can be removed and separated.
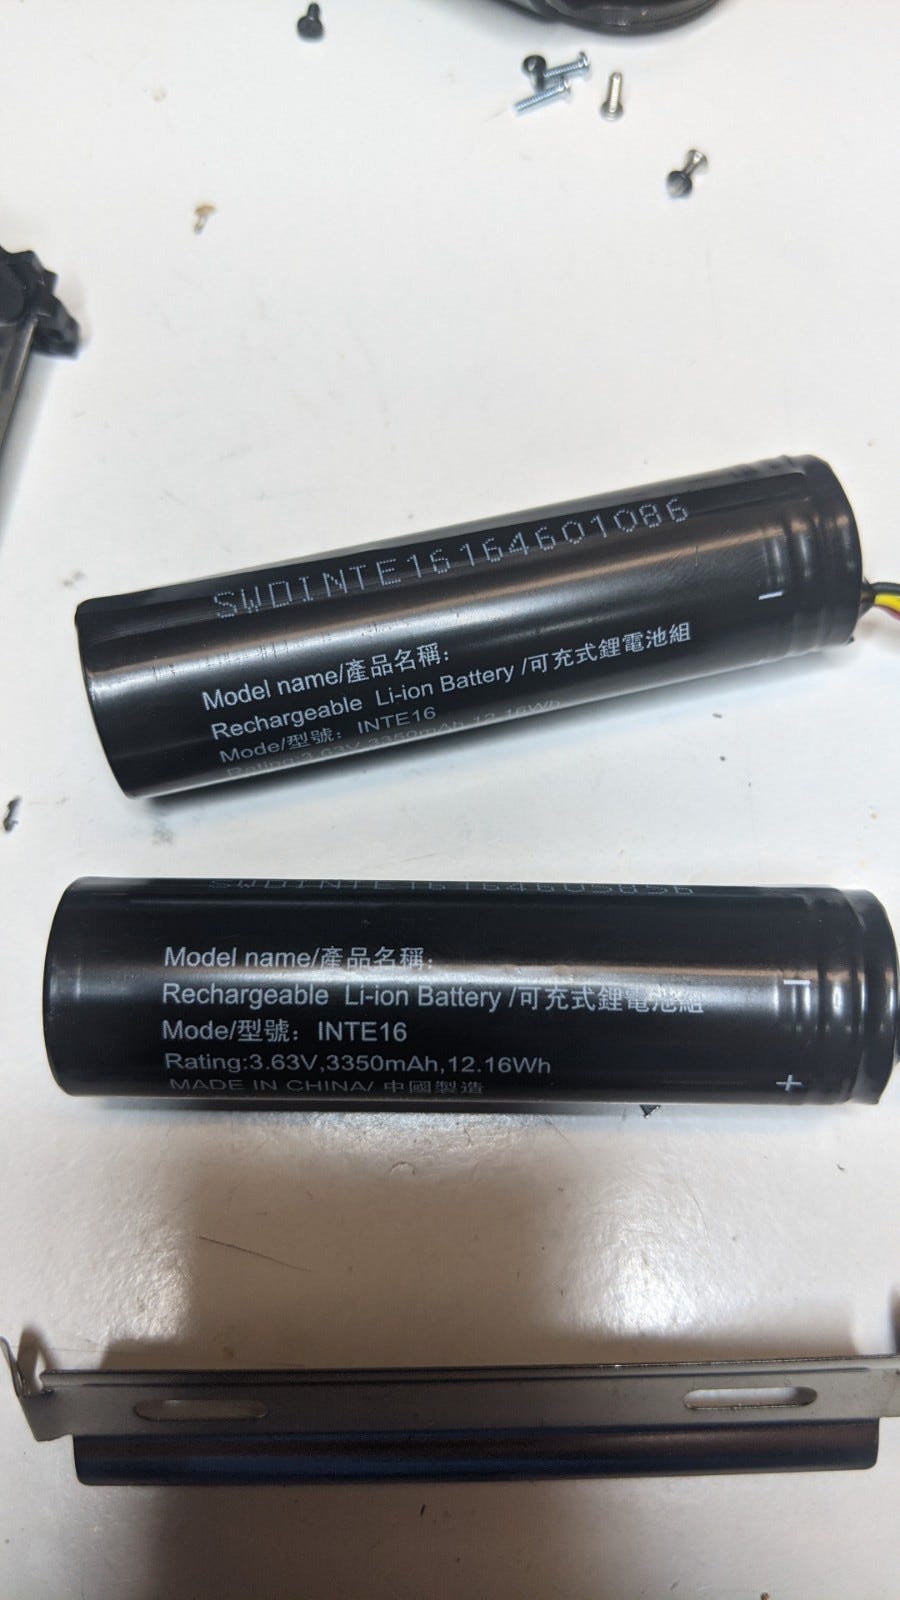
Image: PXL_20210723_230744284
PART 8: Remove the Battery Controllers
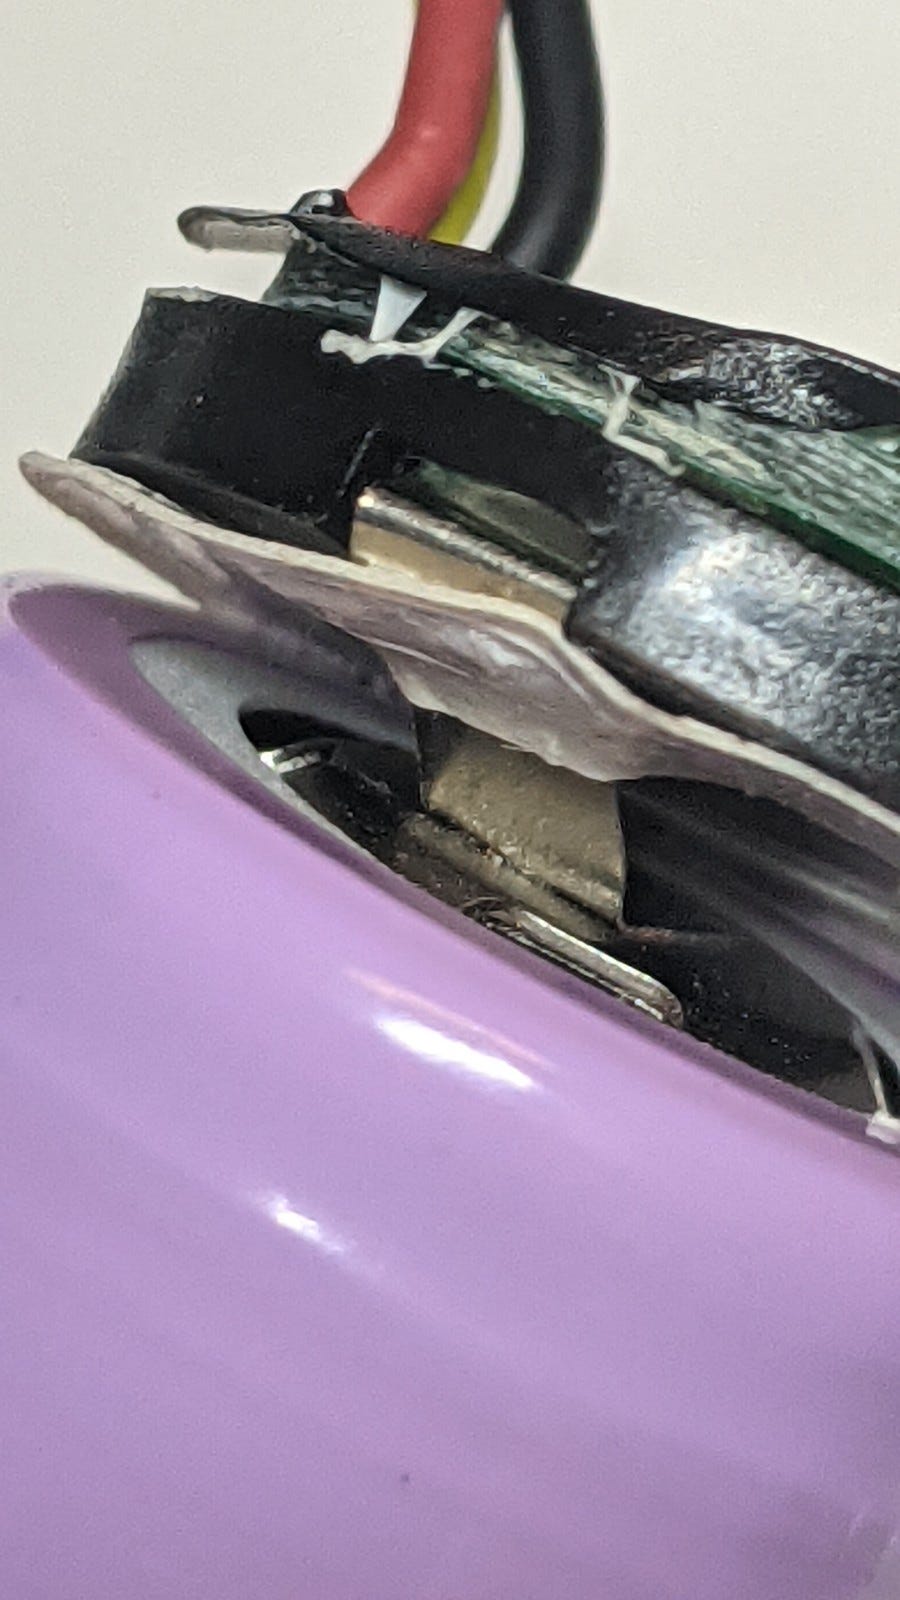
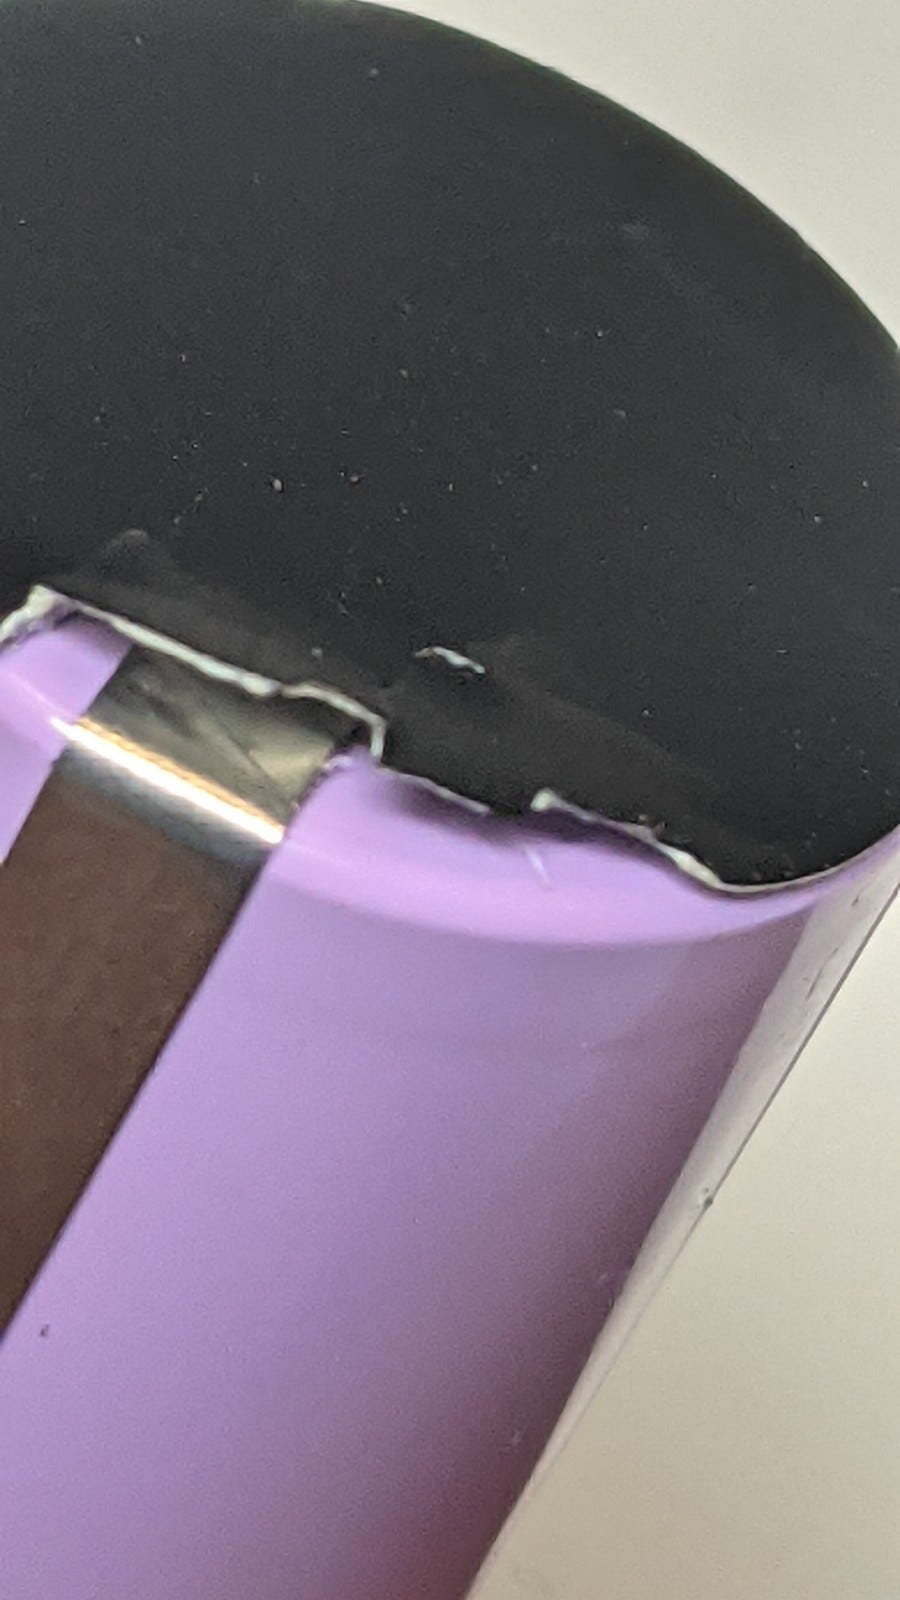
On the top of each battery is a tri-set of wires connected to a controller on the top of each battery. This is probably a Lipo controller of some sort that will need to be re-installed on the new batteries. This is the trickiest part of the entire process. Use a razor blade to remove the plastic outer shell. It will probably reveal a purple inner shell and then allow you to see the controller that will need to be removed.
Images:
PXL_20210723_231304017

PXL_20210723_231311870
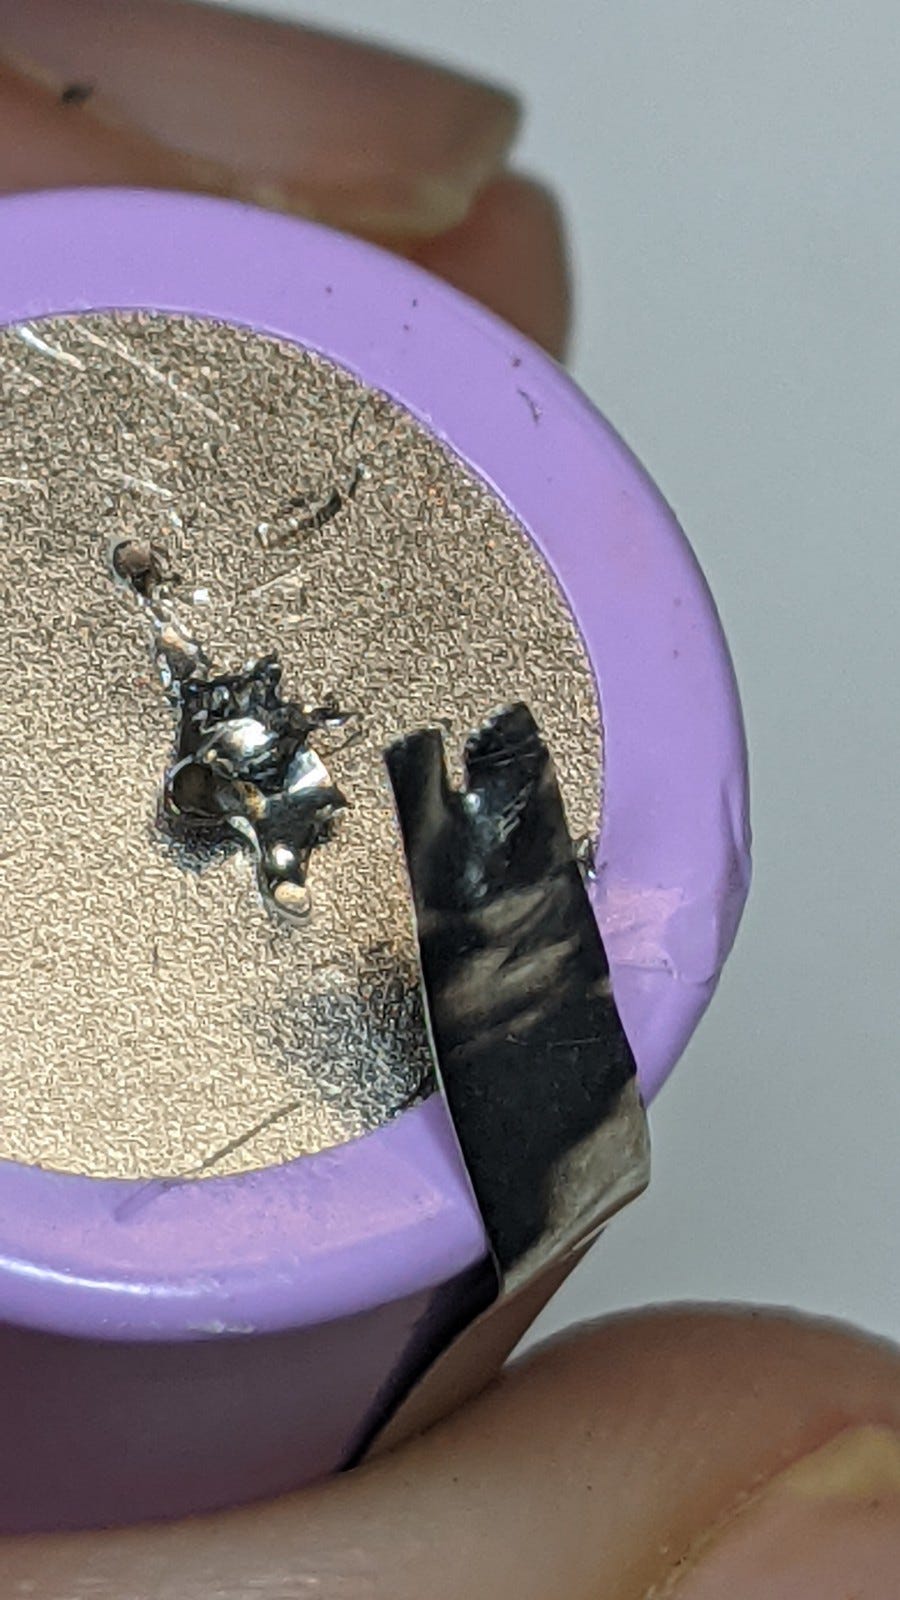
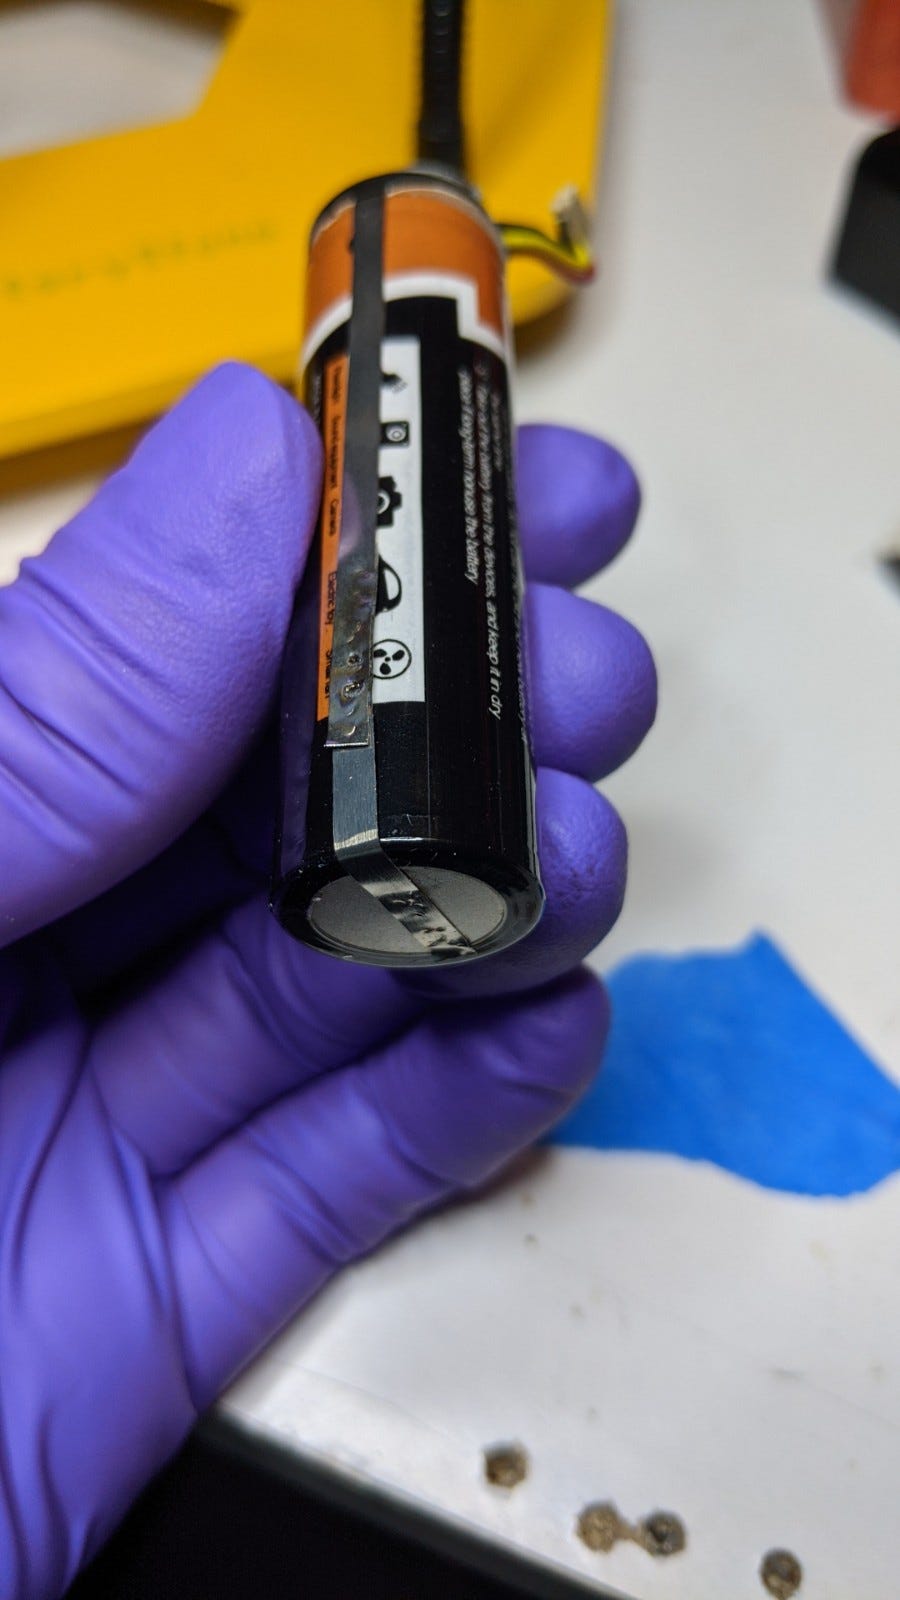
PART 9: Separate the Controller from the Battery
For each of the batteries, you will need to remove this circuit from the top as well as from the bottom. Remove the plastic cover on the bottom and separate the top circuit from the battery. The leads are welded to the battery, so you will need to very delicately pry the connectors off and try to save as much of the connector length as possible.
Images:
PXL_20210723_231613839.NIGHT_

PXL_20210723_231745171.NIGHT_


PART 10: Inspect the Connections and the Old Battery
Once removed, you should see something like the pictures below. Remember, when removing the nickel-welded connections, please try to save as much as possible and take your time. The more length you have, the better because we will need to weld it to the new batteries.
Images:
PXL_20210723_231613839.NIGHT_

PXL_20210723_231745171.NIGHT_

PXL_20210723_231613839.NIGHT_

PXL_20210723_231745171.NIGHT_


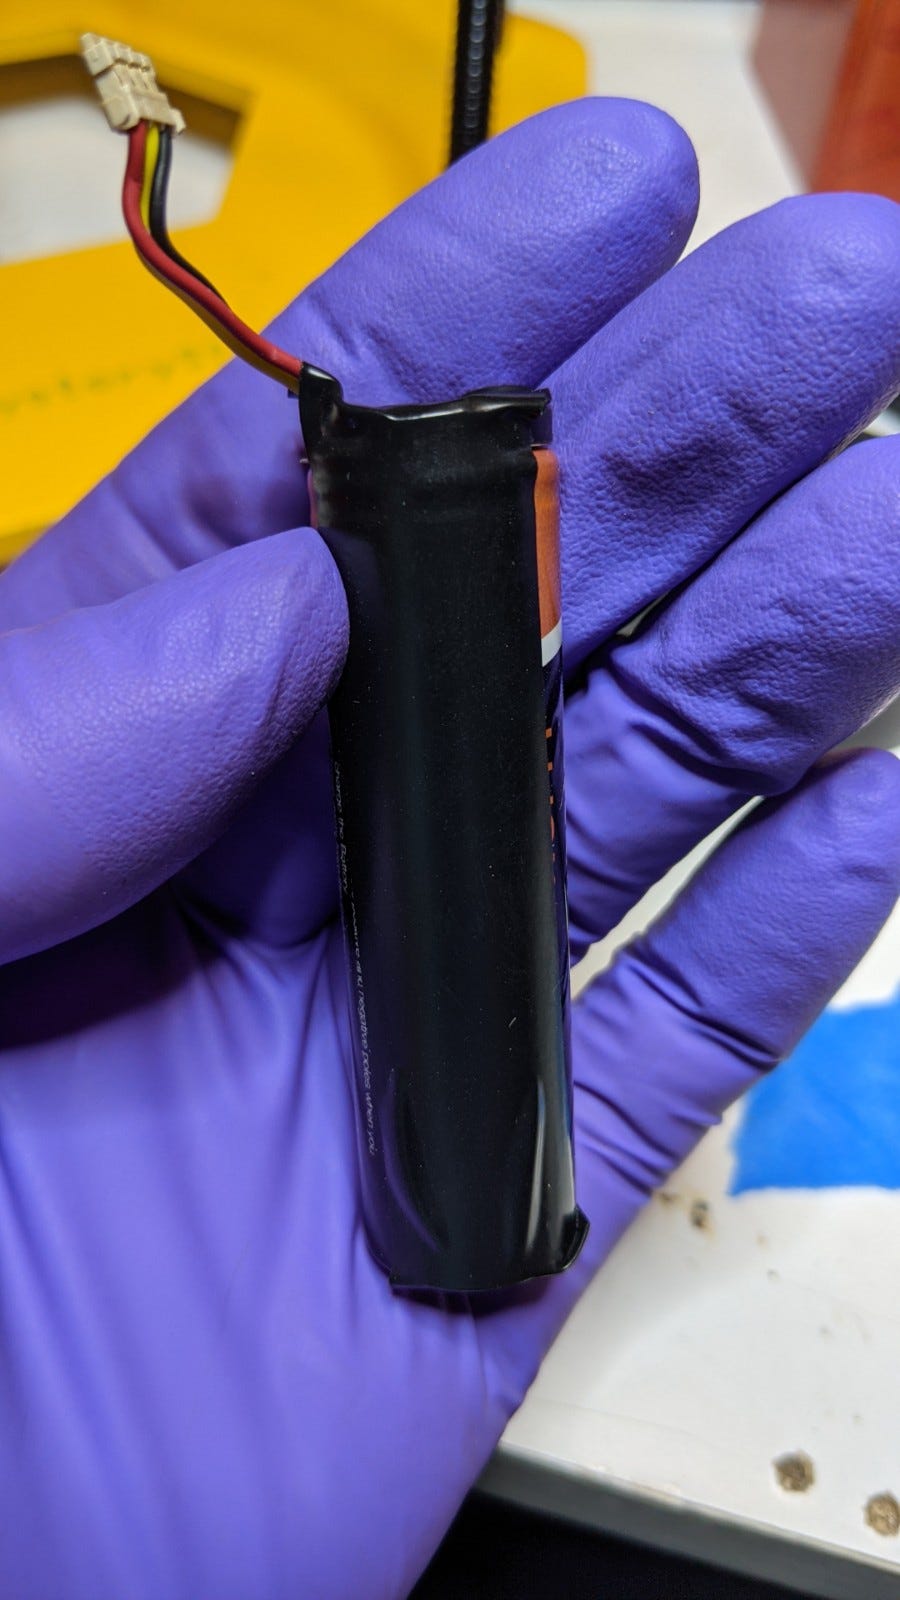
PART 11: The view of the separated Battery Controller
At the end of this process, you should have two batteries, each with a separated controller. The batteries can be discarded, but please discard them appropriately.

Image: PXL_20210723_231802808.NIGHT_
PART 12: Getting ready for the Welding
Here is a view of the new battery next to the controller. The weld process will attach the nickel connections to each side of the battery.
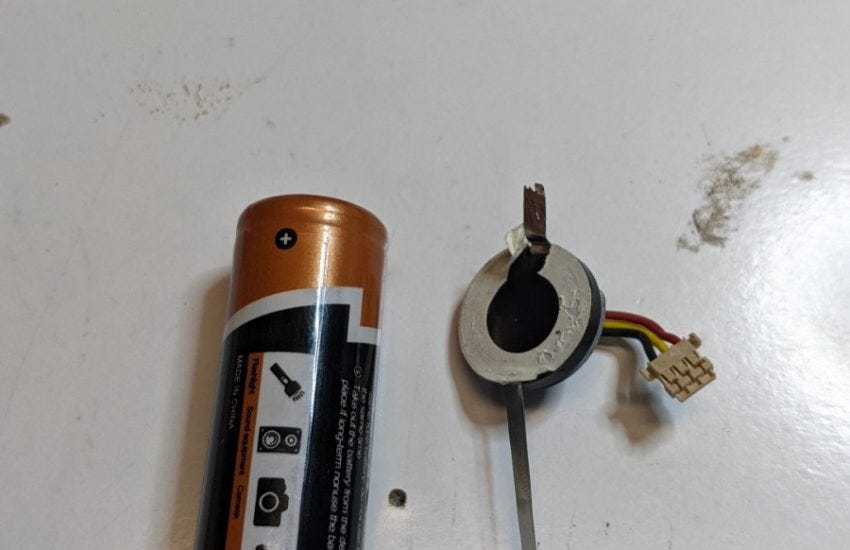
Image: PXL_20210727_222601879.NIGHT_
PART 13: WELDING 1
Now you are ready to weld. I would recommend you weld the top controller part to the top of the battery; this is the most complicated part. The top of the battery will have the smaller flat circle when compared to the bottom. Make sure you have some good clamps and are able to keep things steady. Here is an image following my spot weld.
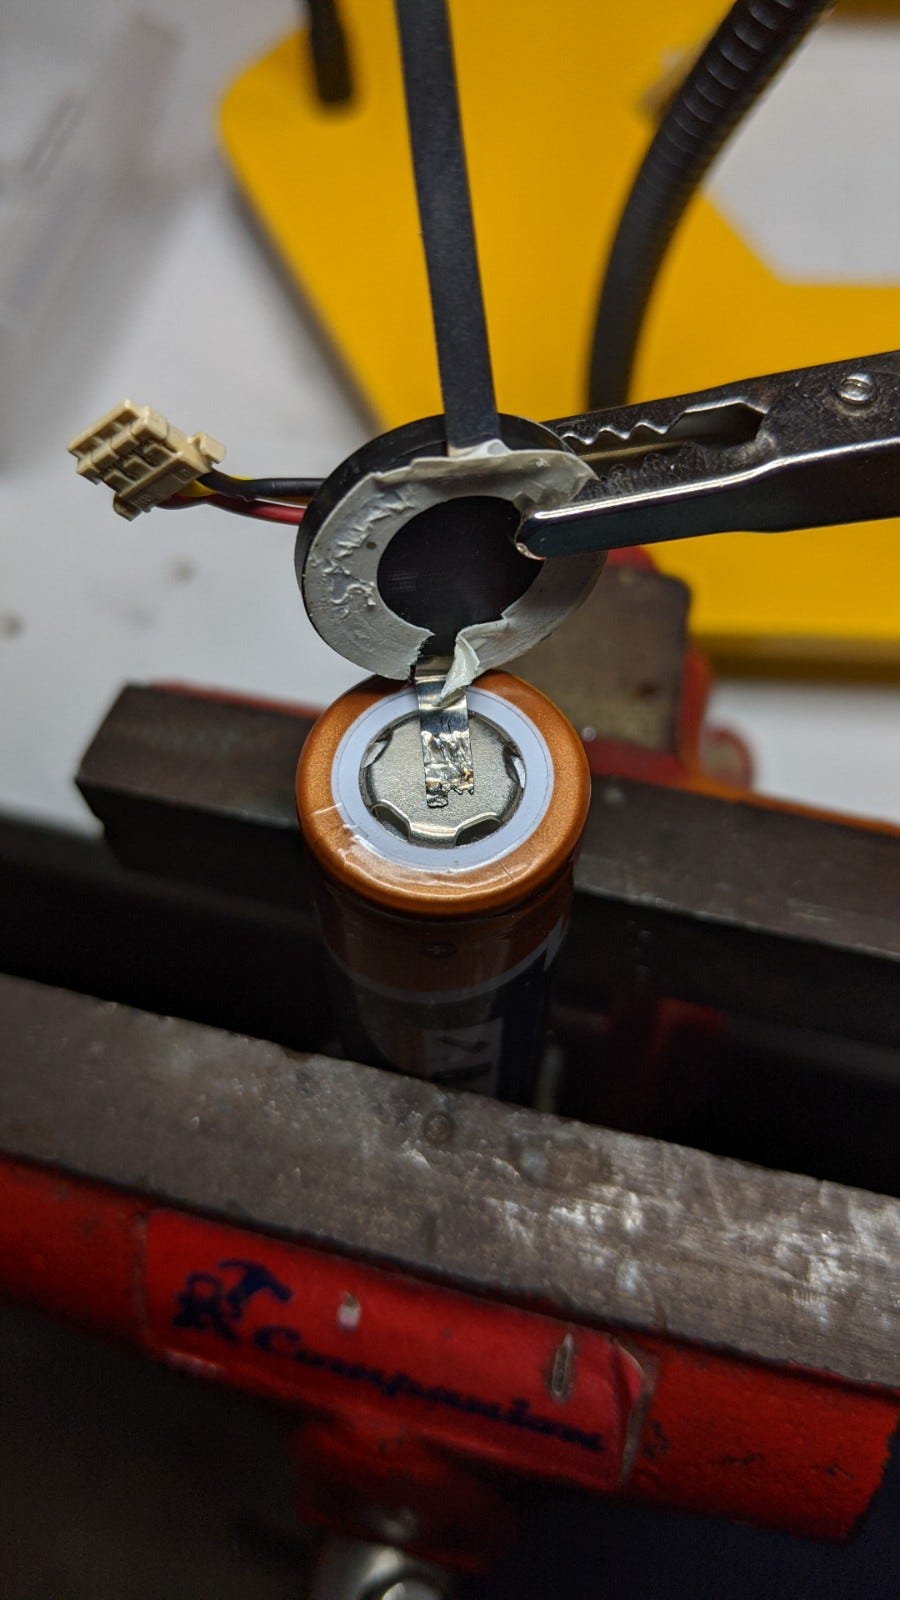
Image: PXL_20210727_222938574.NIGHT_
PART 14: WELDING 2
Now it's the time for the bottom. When I removed the nickel strip from the bottom of the old battery, I felt I didn't leave enough on the line. So I decided to add length to the strip by adding strip to it. I took small length of nickel strip and welded it to the existing strip, adding a few inches to it that will allow me to better weld to the bottom of the battery. The picture below is a spot weld on my workbench, so it left some burn marks on the tabletop. I would recommend using some kind of glass top if you need to weld strips together.
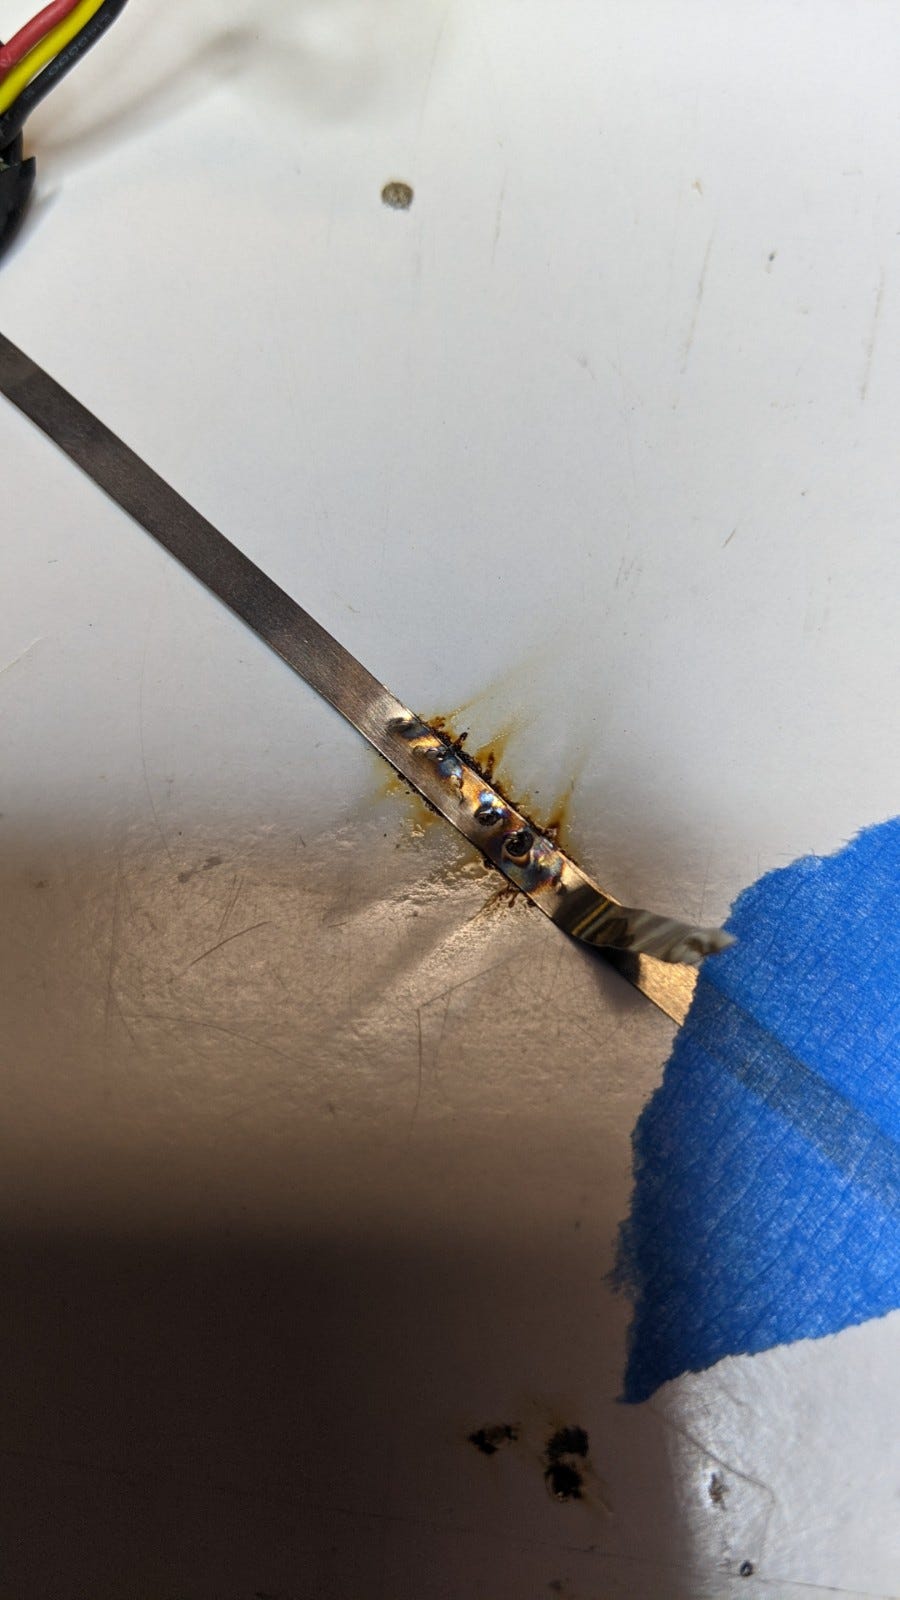
Image: PXL_20210727_223549348.NIGHT_
PART 15: WELDING 3
Now that I have added a little bit of length, I can now weld to the bottom of the battery. I spot welded it and removed the excess.
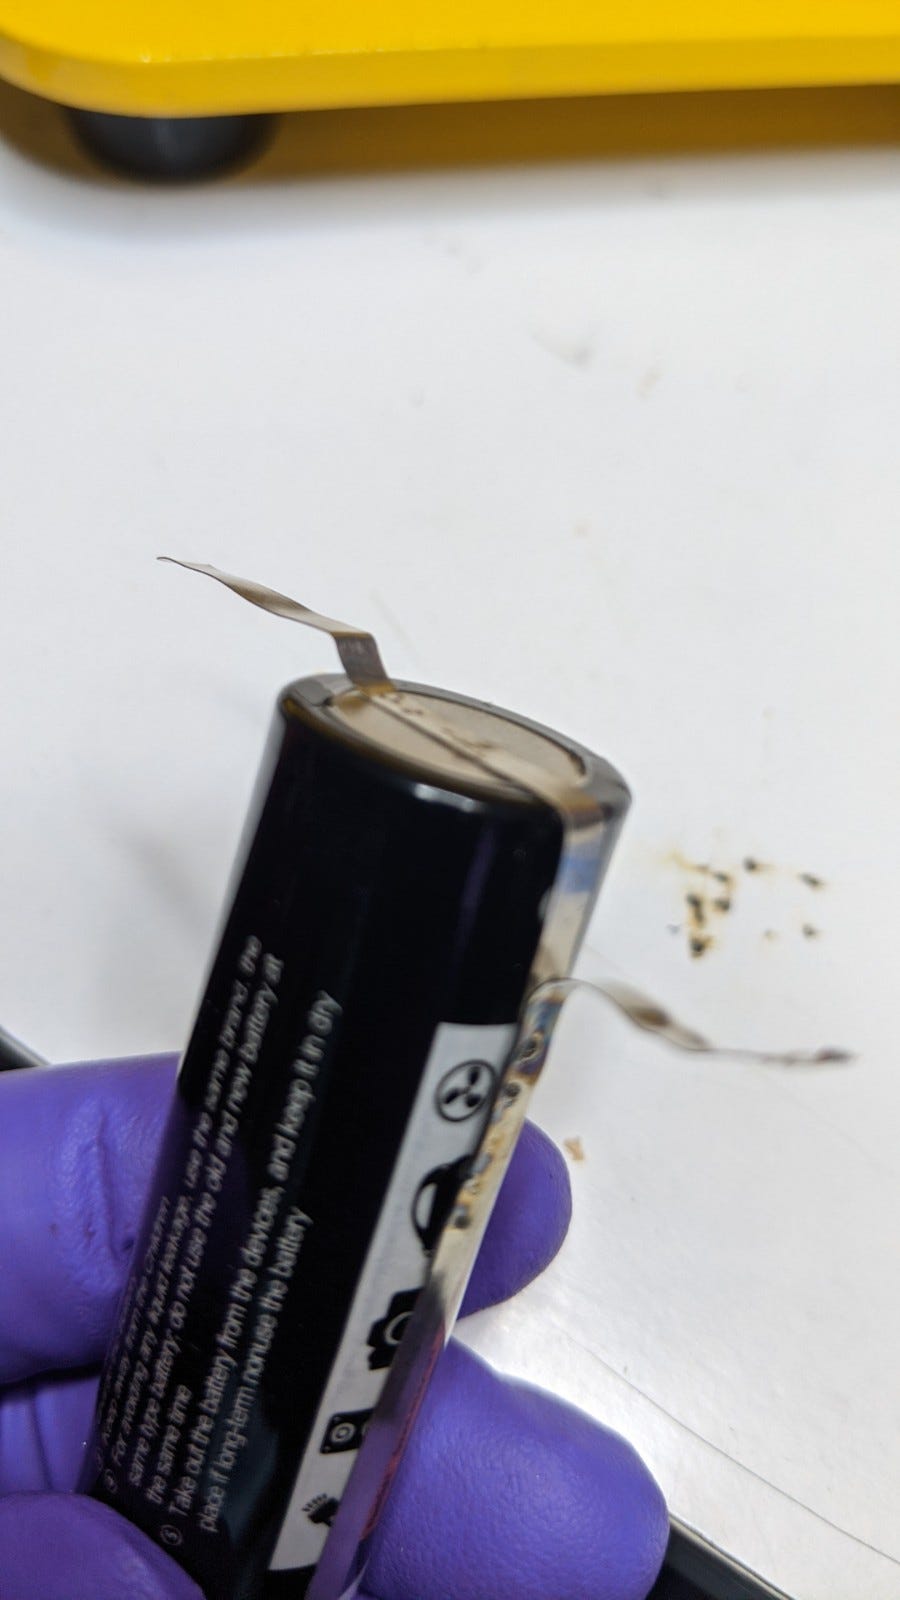
Image: PXL_20210727_223819917.NIGHT_
PART 16: CLEANUP AND REASSEMBLY
After everything has been welded, I covered the connections with some electrical tape strips, and they are now good to go back into the assembly.
Images:
PXL_20210727_223852171.NIGHT
_
PXL_20210727_224142026.NIGHT_

SUMMARY
This repair is a bit complex, but you get to learn about battery welding which is my newest fascination. Many devices are thrown away because their batteries are not easily replaceable. This fix is not the easiest, but should be possible by anyone with moderate technical skill. Enjoy!